
Structural Repairs
These shots are from a house I've been working on in Doylestown, PA for about a year now.
The project grew and grew from the original rehab and rental idea to the homeowner (who has lived in the row-home next door for 15 years) deciding to build the place the way they want it to be and move into it.
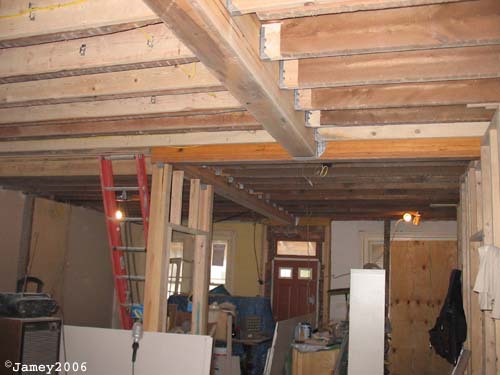
At this point the place has been completely gutted and the new construction is taking place.
The house is at least 100 years old and wasn't built very well...the boards holding the place up were too thin so everything sagged. The new design calls for an 'open floorplan' on the first floor with no walls so the weight of the house will now be carried by these HUGE 'glue-lam' beams. The weight is carried on the posts that will enclose the basement door/steps.
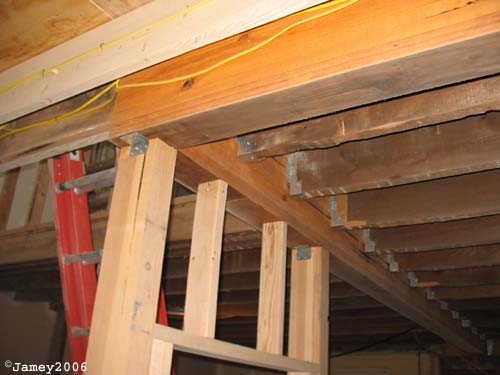
Many of the floor joists had to be straightened and 'sistered' (a second board nailed to it along the length to add strength and stability.
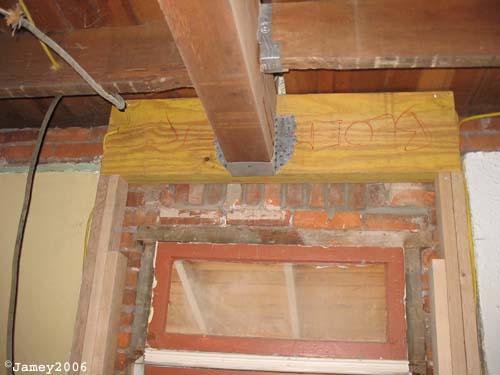
Above the doors the weight is carried by a lentil and transferred to the basement with posts.
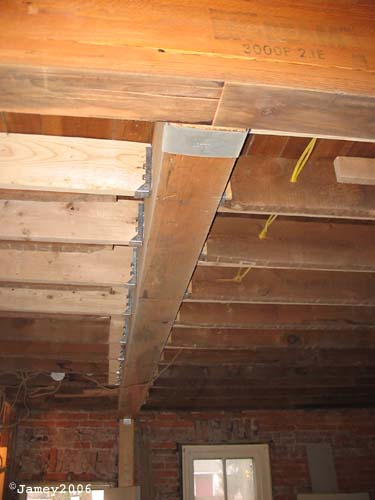
The builders that did the beams did a pretty lousy job. They cut the joists too short and had to add an extra board to reach the center beam along one side. Here at the end I don't know what they thought they were doing with the one joist not attached at all and the other just with a 2x4.
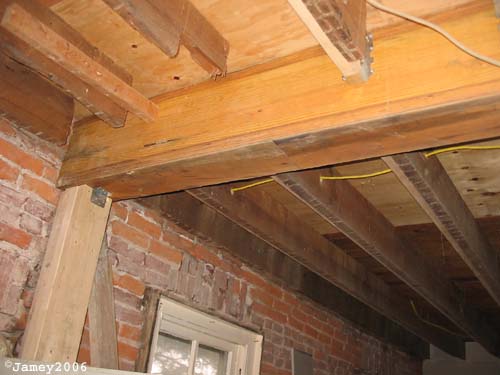
Here you can see more clearly where they cut them all too short...the last 3 or 4 inches being carried by the new boards into the joist hangers nailed to the main support beam.
posted by Jamey @ 10:49 AM
0 comments
![]()