
Prepping the Floor
Although I chose 'The Easiest" floor to install (vinyl self-stick tile) the prep work was pretty substantial.
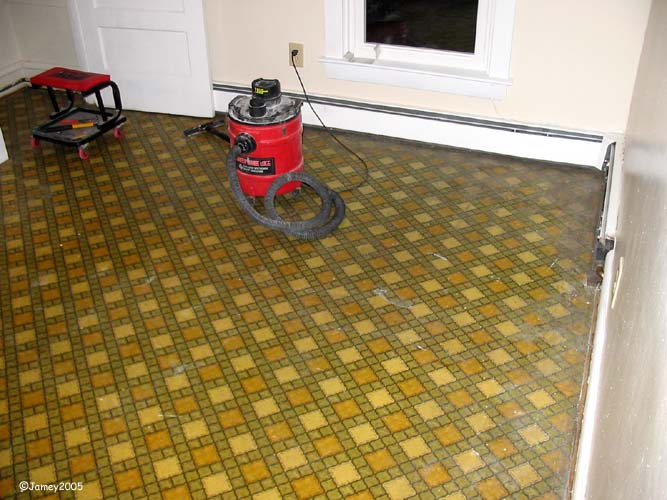
The first step was to remove the heater covers and 1/4 round trim around the edges of the old floor. Next I shop-vaced the floor and then mop it with a really strong ammonia solution 4 times to get the 35 years of grease and crud off. I had to wear my gas mask the entire time and I had the windows open even though it was in the single digits outside that day.
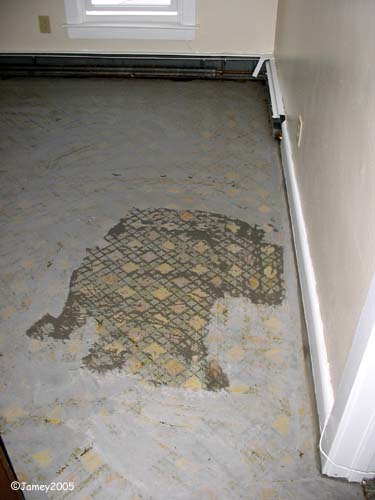
Once I had the floor scrubbed down as clean as it was going to get my next step was to lay down an, "Embossing Leveler" over the entire floor. This is done so that the texture in the old floor doesn't "Telegraph" or show through the new floor as it gets walked on. The same product is also used around the edges where there were gaps around the edges of the old floor or where I cut away pieces of the old floor that were curling up and to fill any other holes such as gouges or cigarette burns in the old floor making a totally smooth surface for the new floor to stick to.
The darker section is the last one I applied and it hadn't dried yet when I took this picture.
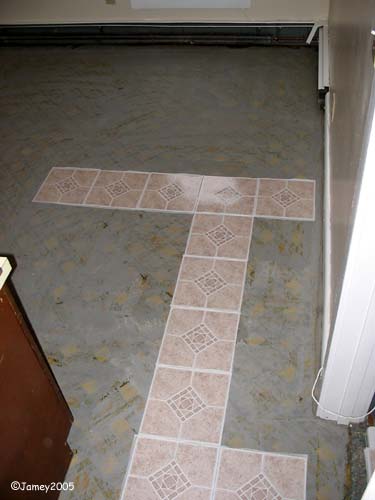
After allowing the floor leveler to dry overnight the next step Armstrong recommends when prepping for a self-stick floor is to paint the entire floor with a good quality latex primer. I use Sherwin Williams paints because they tend to be a high quality product and the store is only a block from my house.
As with any other paint job I cut in the edges and then rolled the main field making extra sure the paint was smooth and even because any drips or imperfections would show through the same way the embossing would have had I not used the leveler.

I let the paint dry for about 4 hours (I asked the guy at the paint store and he said two but I like to stay on the safe side) before I started laying the new floor which I'll go over next time.
posted by Jamey @ 10:17 AM
![]()
0 Comments:
Post a Comment
<< Home